

How To Print On Fabric
Materials:
Freezer Paper
White Fabric
Printer
Iron
Vinegar
Shallow Bowl
Steps:
Cut a piece of freezer paper to fit in your printer. You can use a piece of printer paper and trace around it to make sure you have the correct size.
Iron the freezer paper onto the white fabric (one side feels more waxy, that side will go on the fabric) then trim the fabric to the same size as the freezer paper. Make sure there are no frayed ends on the fabric to get stuck in your printer!

Take the freezer paper and put it in your printer. For my printer I put the side I want printed on face down. So I put the fabric side face down.
Go to your computer and print the design you would like.
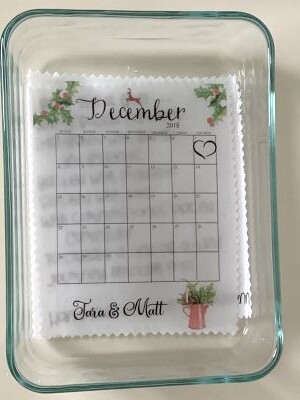
Occasionally it will come out smeared. Just try again. The picture above took me 2 attempts! After it comes out, carefully peel off the freezer paper from the fabric being careful not to smudge the ink.

Fill a shallow bowl with vinegar - just enough to cover the fabric. Set your printed fabric in the bowl and let it sit for 5-10 minutes to set the ink.
After you take it out of the vinegar, rinse with cold water to get out the vinegar smell. You can either lay it flat to dry or you can use a hair dryer to speed up the process.
I use some pinking shears to cut around the picture then I sew it on to my project. If it's a quilt I usually use my sewing machine but if it's clothing I hand stitch it on.
