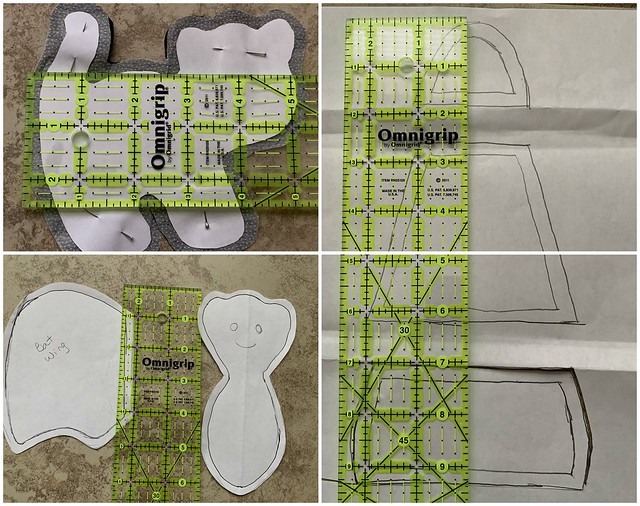
Halloween Painted Clay Pot Tutorial
Materials:
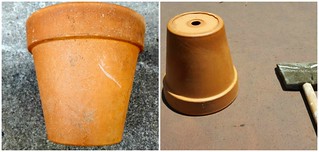
Clay pot (I used 6" for ghost and 12" for candy corn)
Primer
Foam paint brush
Small paint brush for face details
Craft Paints - white, orange, yellow and black
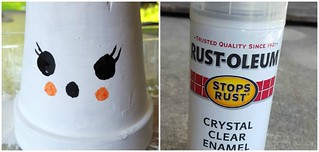
Sealer
Ribbon
Instructions for the ghost and candy corn:
Clean pot with soap and water. Allow to dry completely. I let mine sit in the sun for several hours.
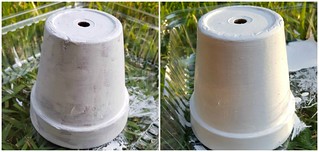
Use a primer to paint the pot. I used Kilz because that is what I had. Be sure to paint both the inside and outside of the pot if you plan to use the pot outside. Allow the primer to dry according to the directions on the product you use. Then, using the white paint, paint several coats to completely cover the pot.
For the ghost:
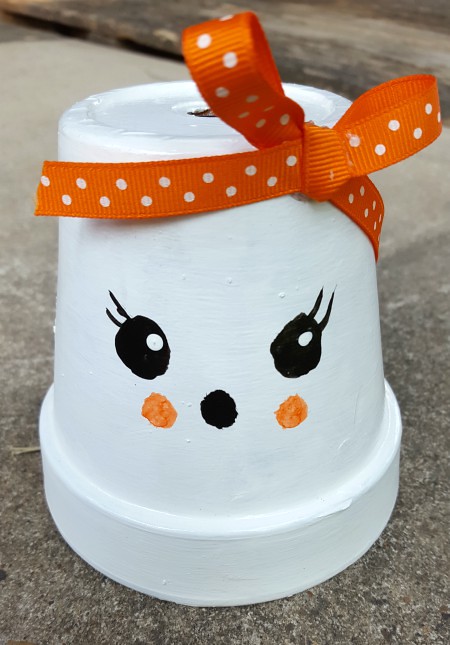
Add some round eyes with the black paint. Also add a round mouth. In addition, if you want your ghost to be a girl, add some cute eye lashes. When the black is dry add some white highlights to the eyes. For the cheeks I added a little water to the orange then dabbed it on. After all the paint has dried, spray both the inside and outside of the pot with a sealer.
Finally, I added a bow for my little girl ghost. There was a crack at the top so this was a great way to hide it!
For the candy corn:
With the pot sitting on the rim, place a piece of painters tape about 2 inches down from the top. Also tape the rim of the pot. Paint everything in between the painter's tape with the orange paint. It may require 2 coats.
After the orange paint dries, remove the painter's tape. Add a piece of painters tape to the bottom of the orange section. Paint the bottom rim with the yellow paint. Remove the painter's tape when the yellow has dried.
Use white paint to create two oval eyes. Also add a round yellow nose. When those dry, use black to add pupils to the eyes and outline the nose. Also use black to create eyebrows and a mouth. After everything has dried, spray both the inside and outside of the pot with sealer.
Happy Halloween!